¶ Introduction
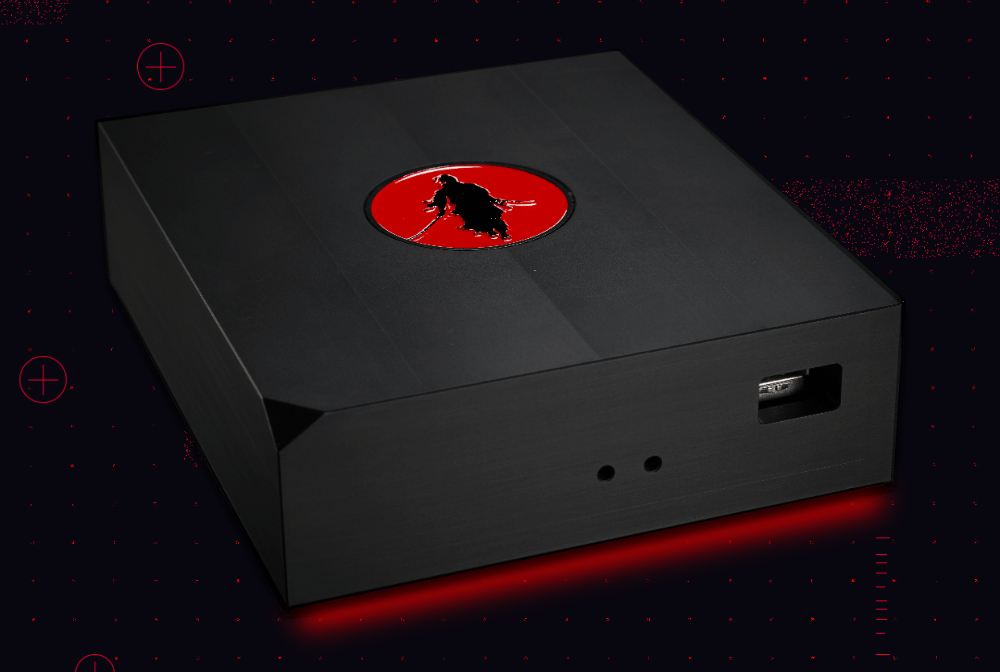
This section covers everything you need to know about setting up a RoninDojo bitcoin node on a Tanto which is based on a Rockpro64 computer.
¶ Setting Up Your Node
NOTICE: Must plug Ethernet cable in first - before powering on!
- Plug in the Ethernet cable first, then the power cord.
- Your Tanto will automatically begin setup, so do not disconnect power during this time.
- Wait 10 minutes until the red light appears on your node.
- Open your web browser.
- Navigate to: http://ronindojo.local
- Alternatively obtain the IP address of your Tanto, then enter it into the URL bar
- You will be greeted by the initial Setup screen, click "Let's start".
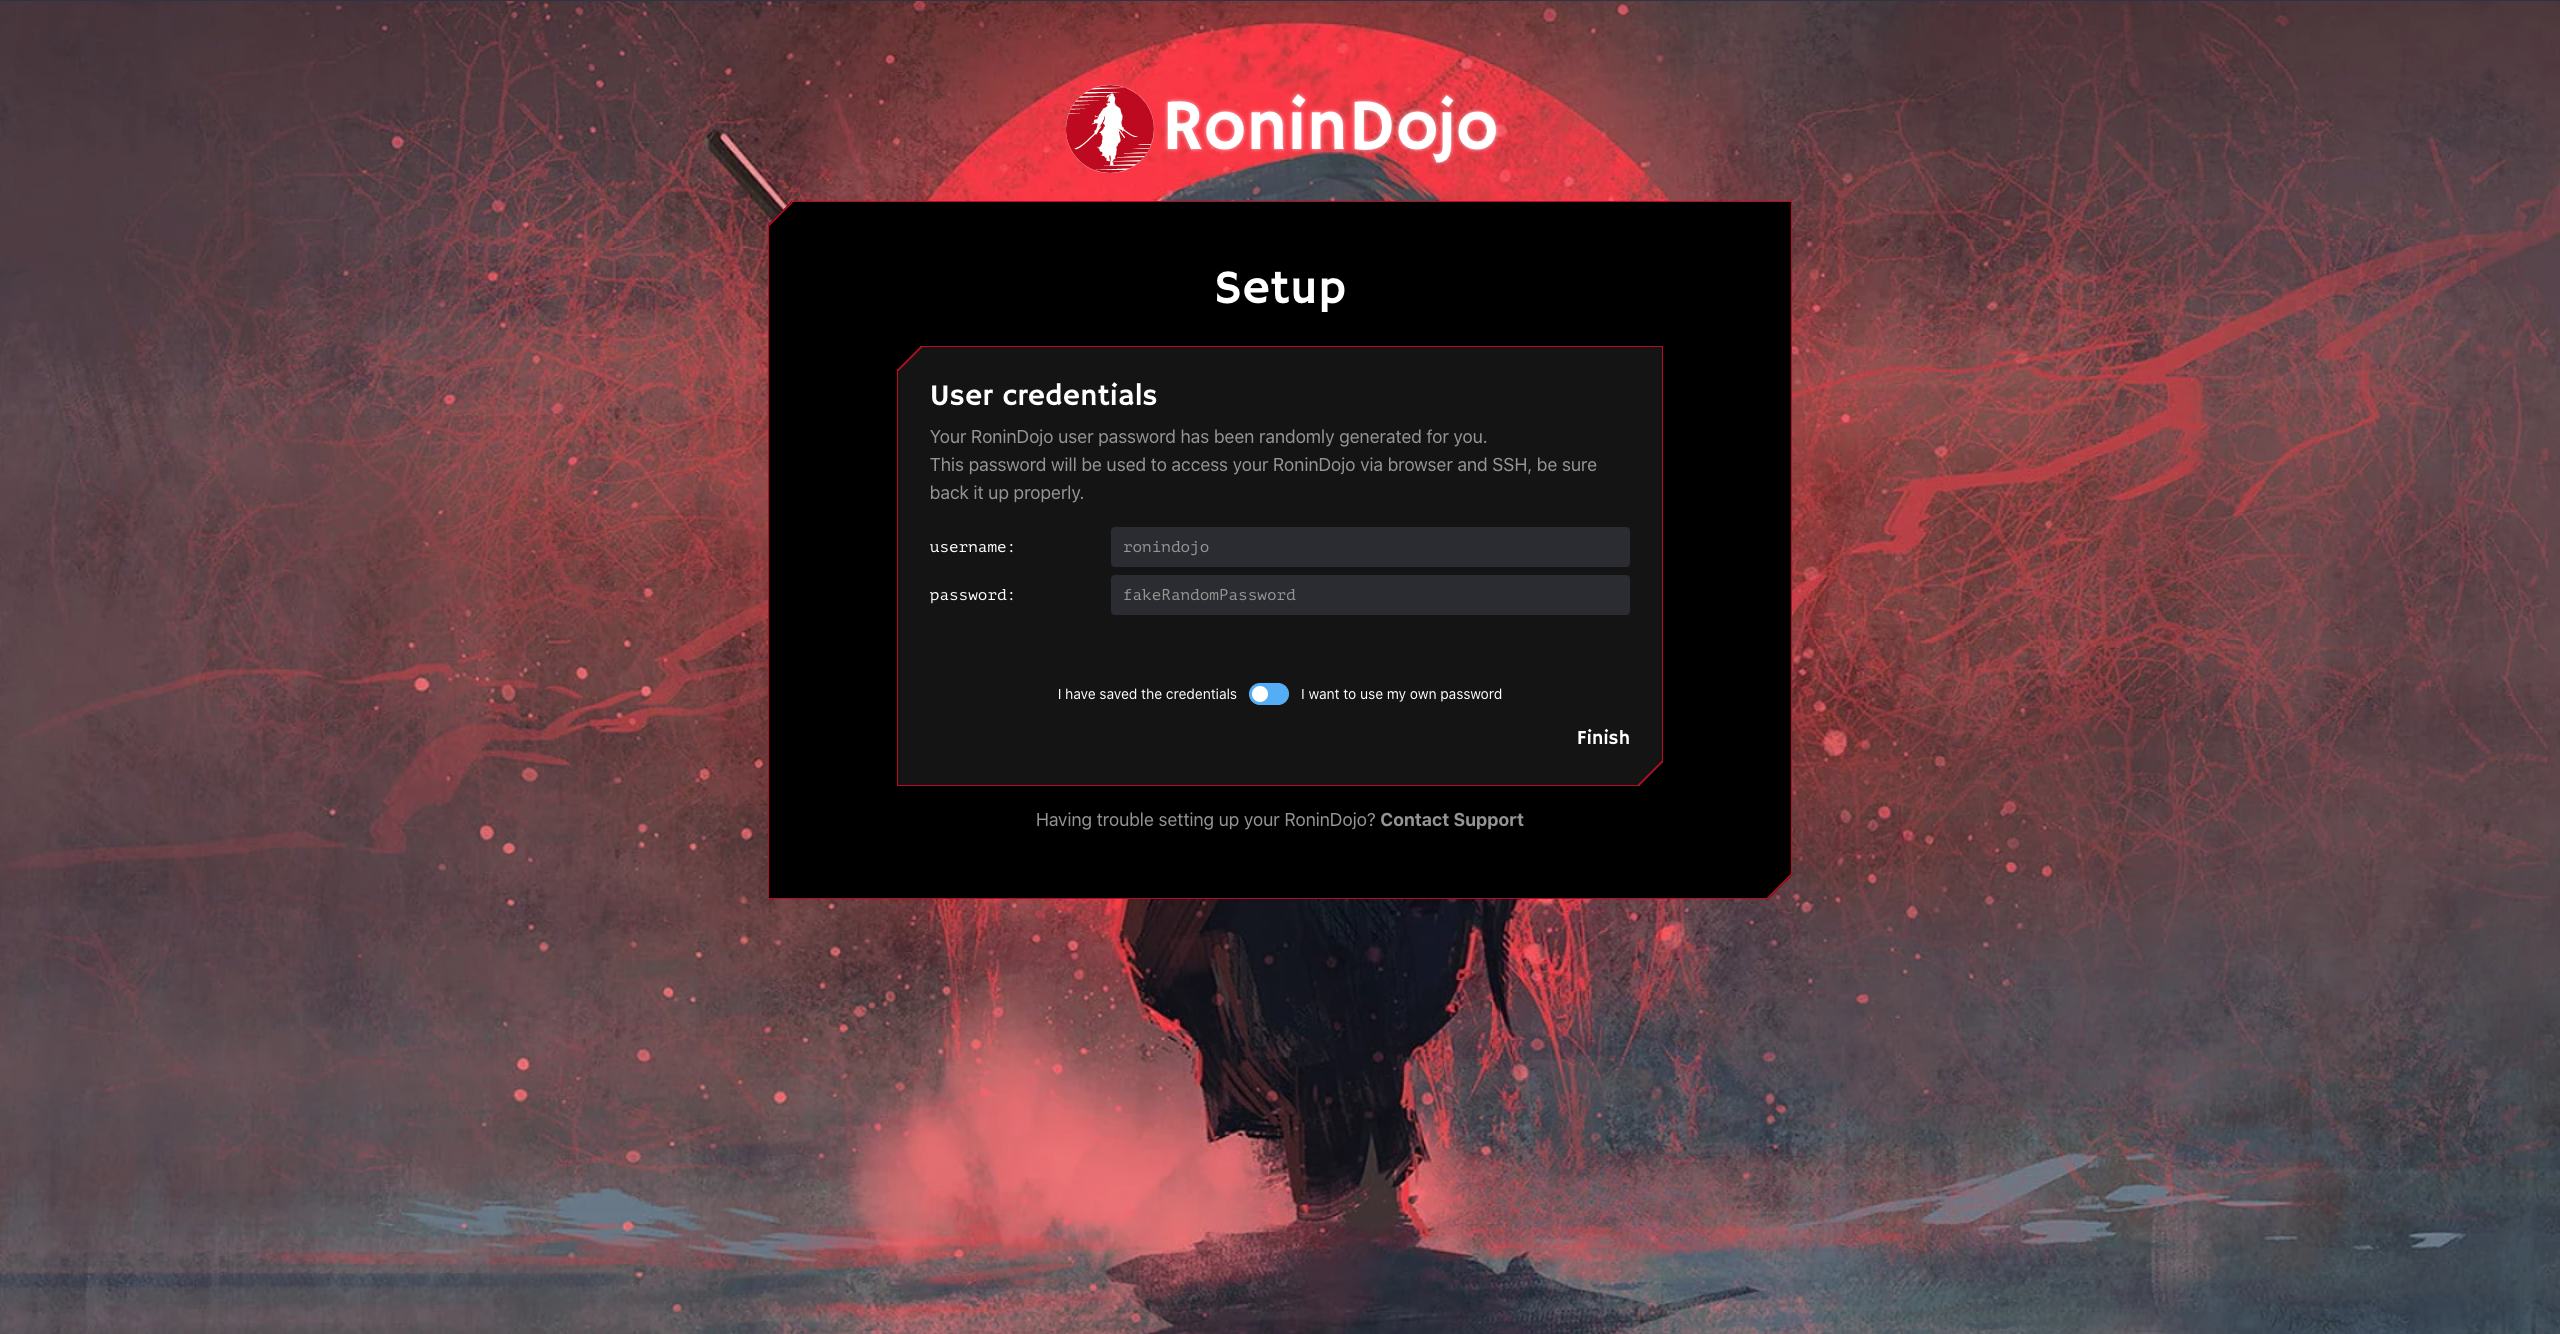
- Note down your Root user credentials, and be sure to keep these somewhere safe.
- Next set your user password which will be used to log into RoninUI.
- Use a strong alphanumeric password (numbers 0-9 and letters A-Z capital/lowercase)
- Do not use special characters (@,#,&,?, etc)
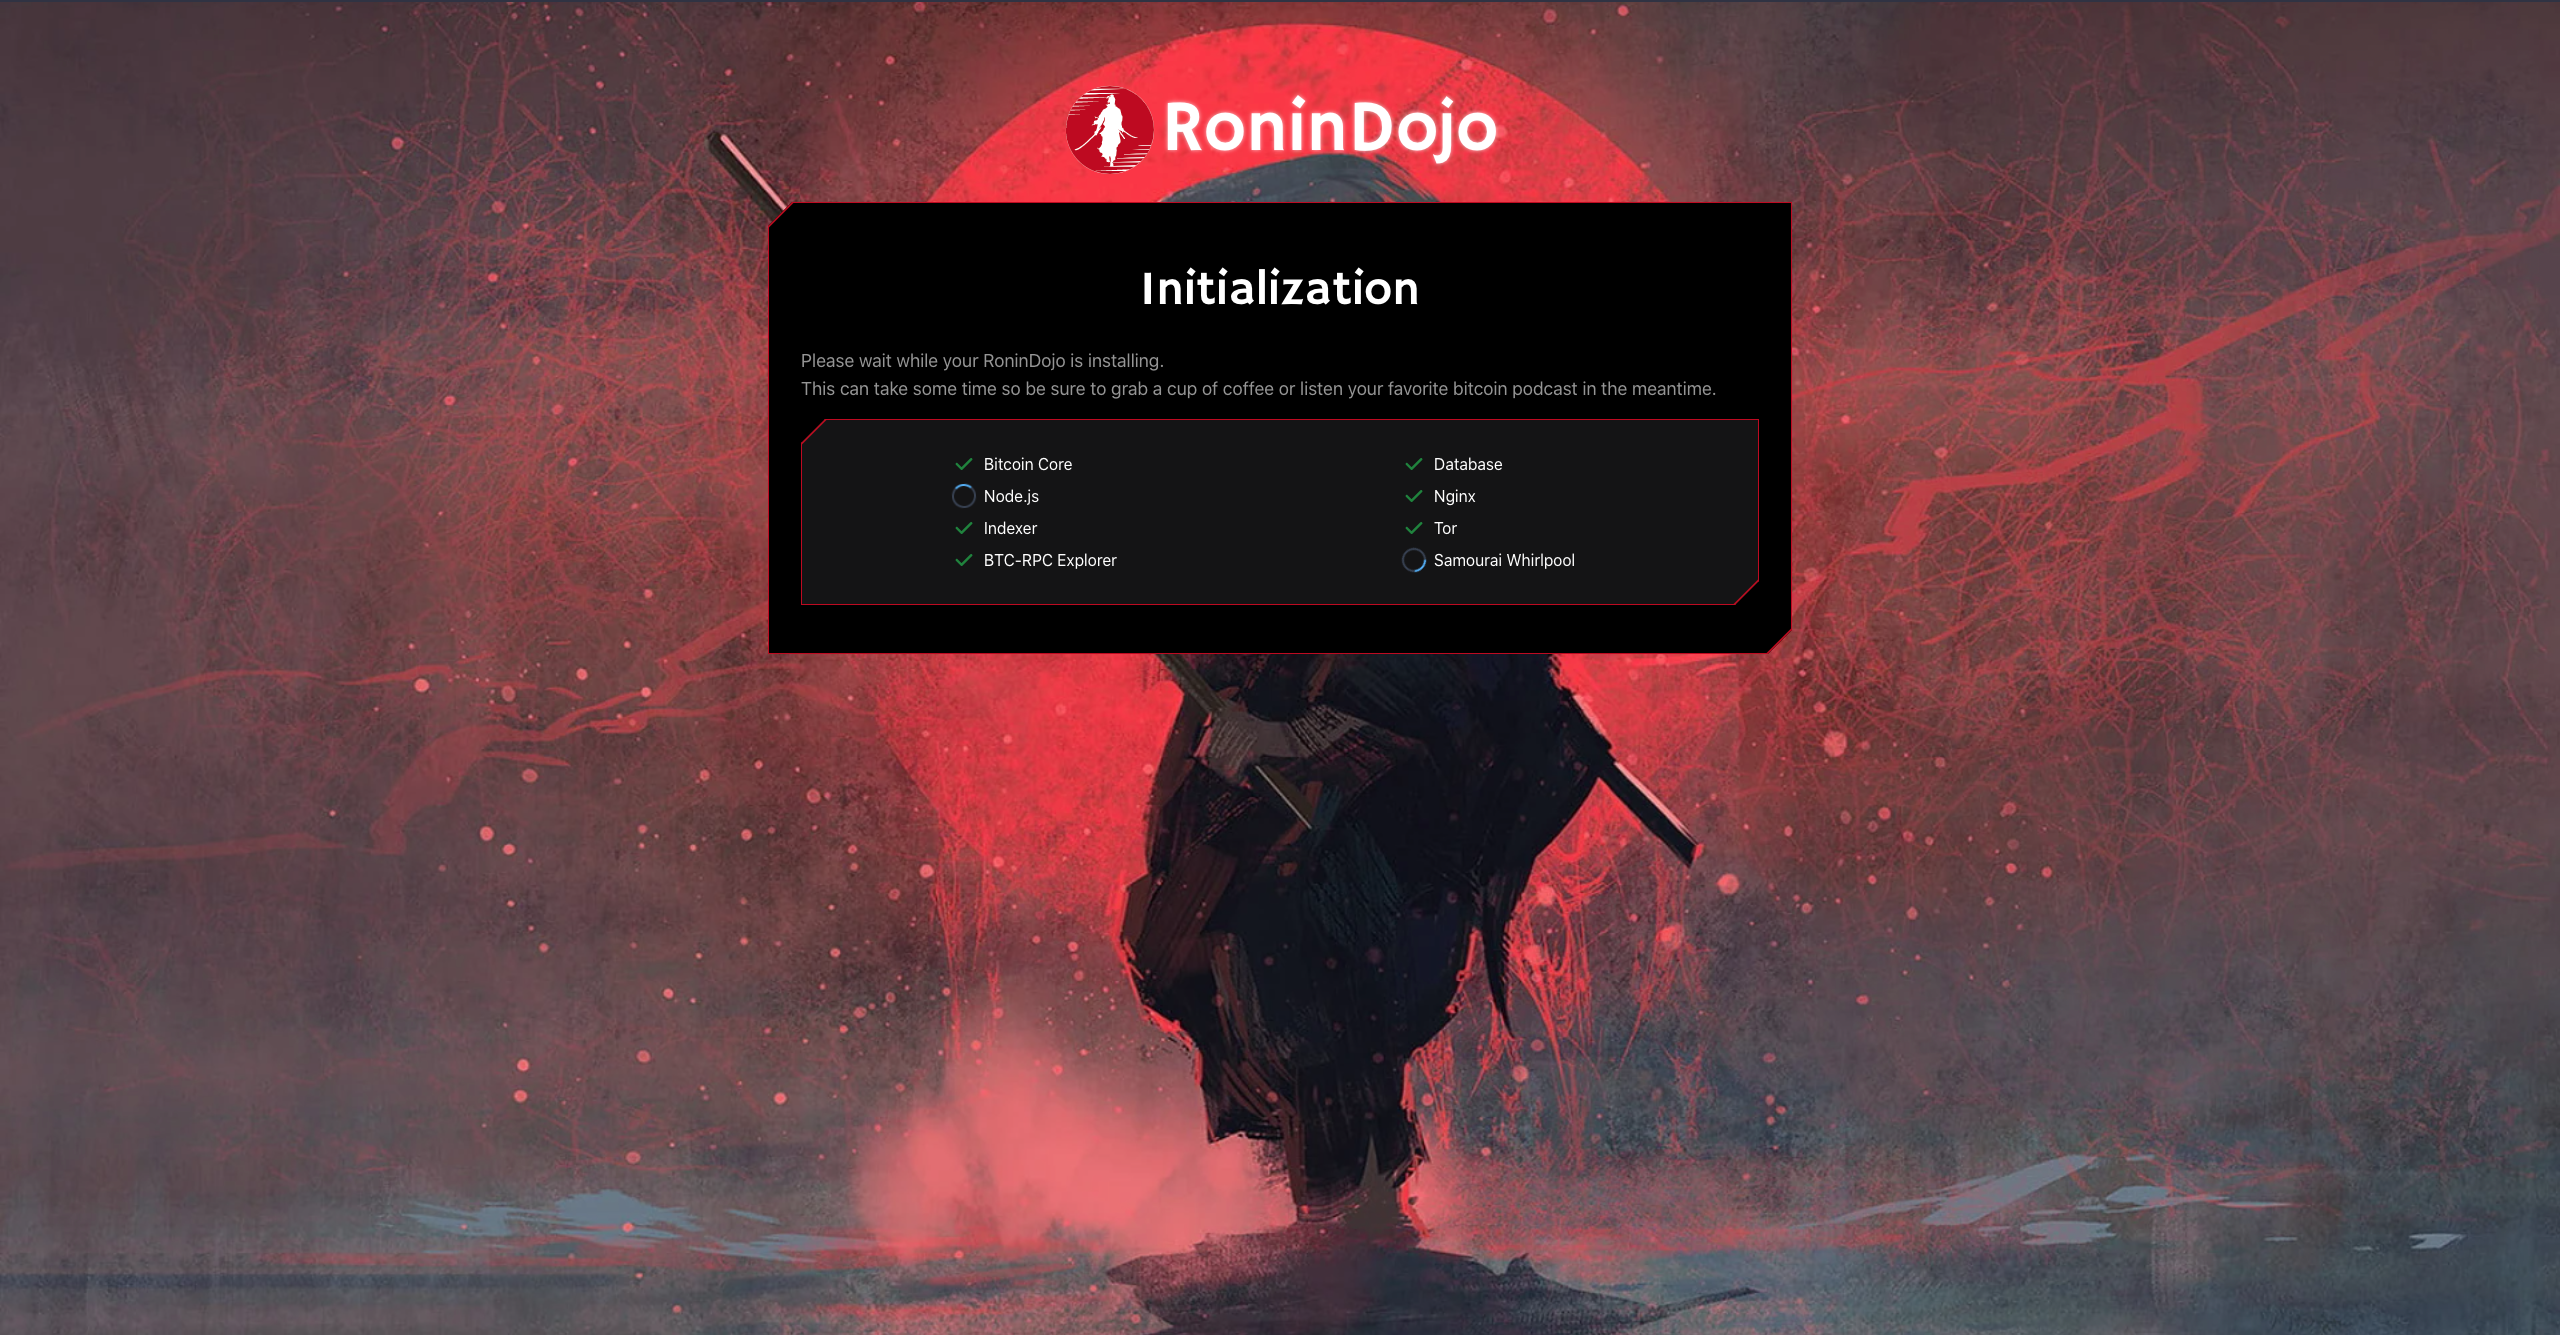
- Now wait for the initialization to complete. This takes approximately 45 minutes.
- Following initialization, you can click through to your RoninUI dashboard.
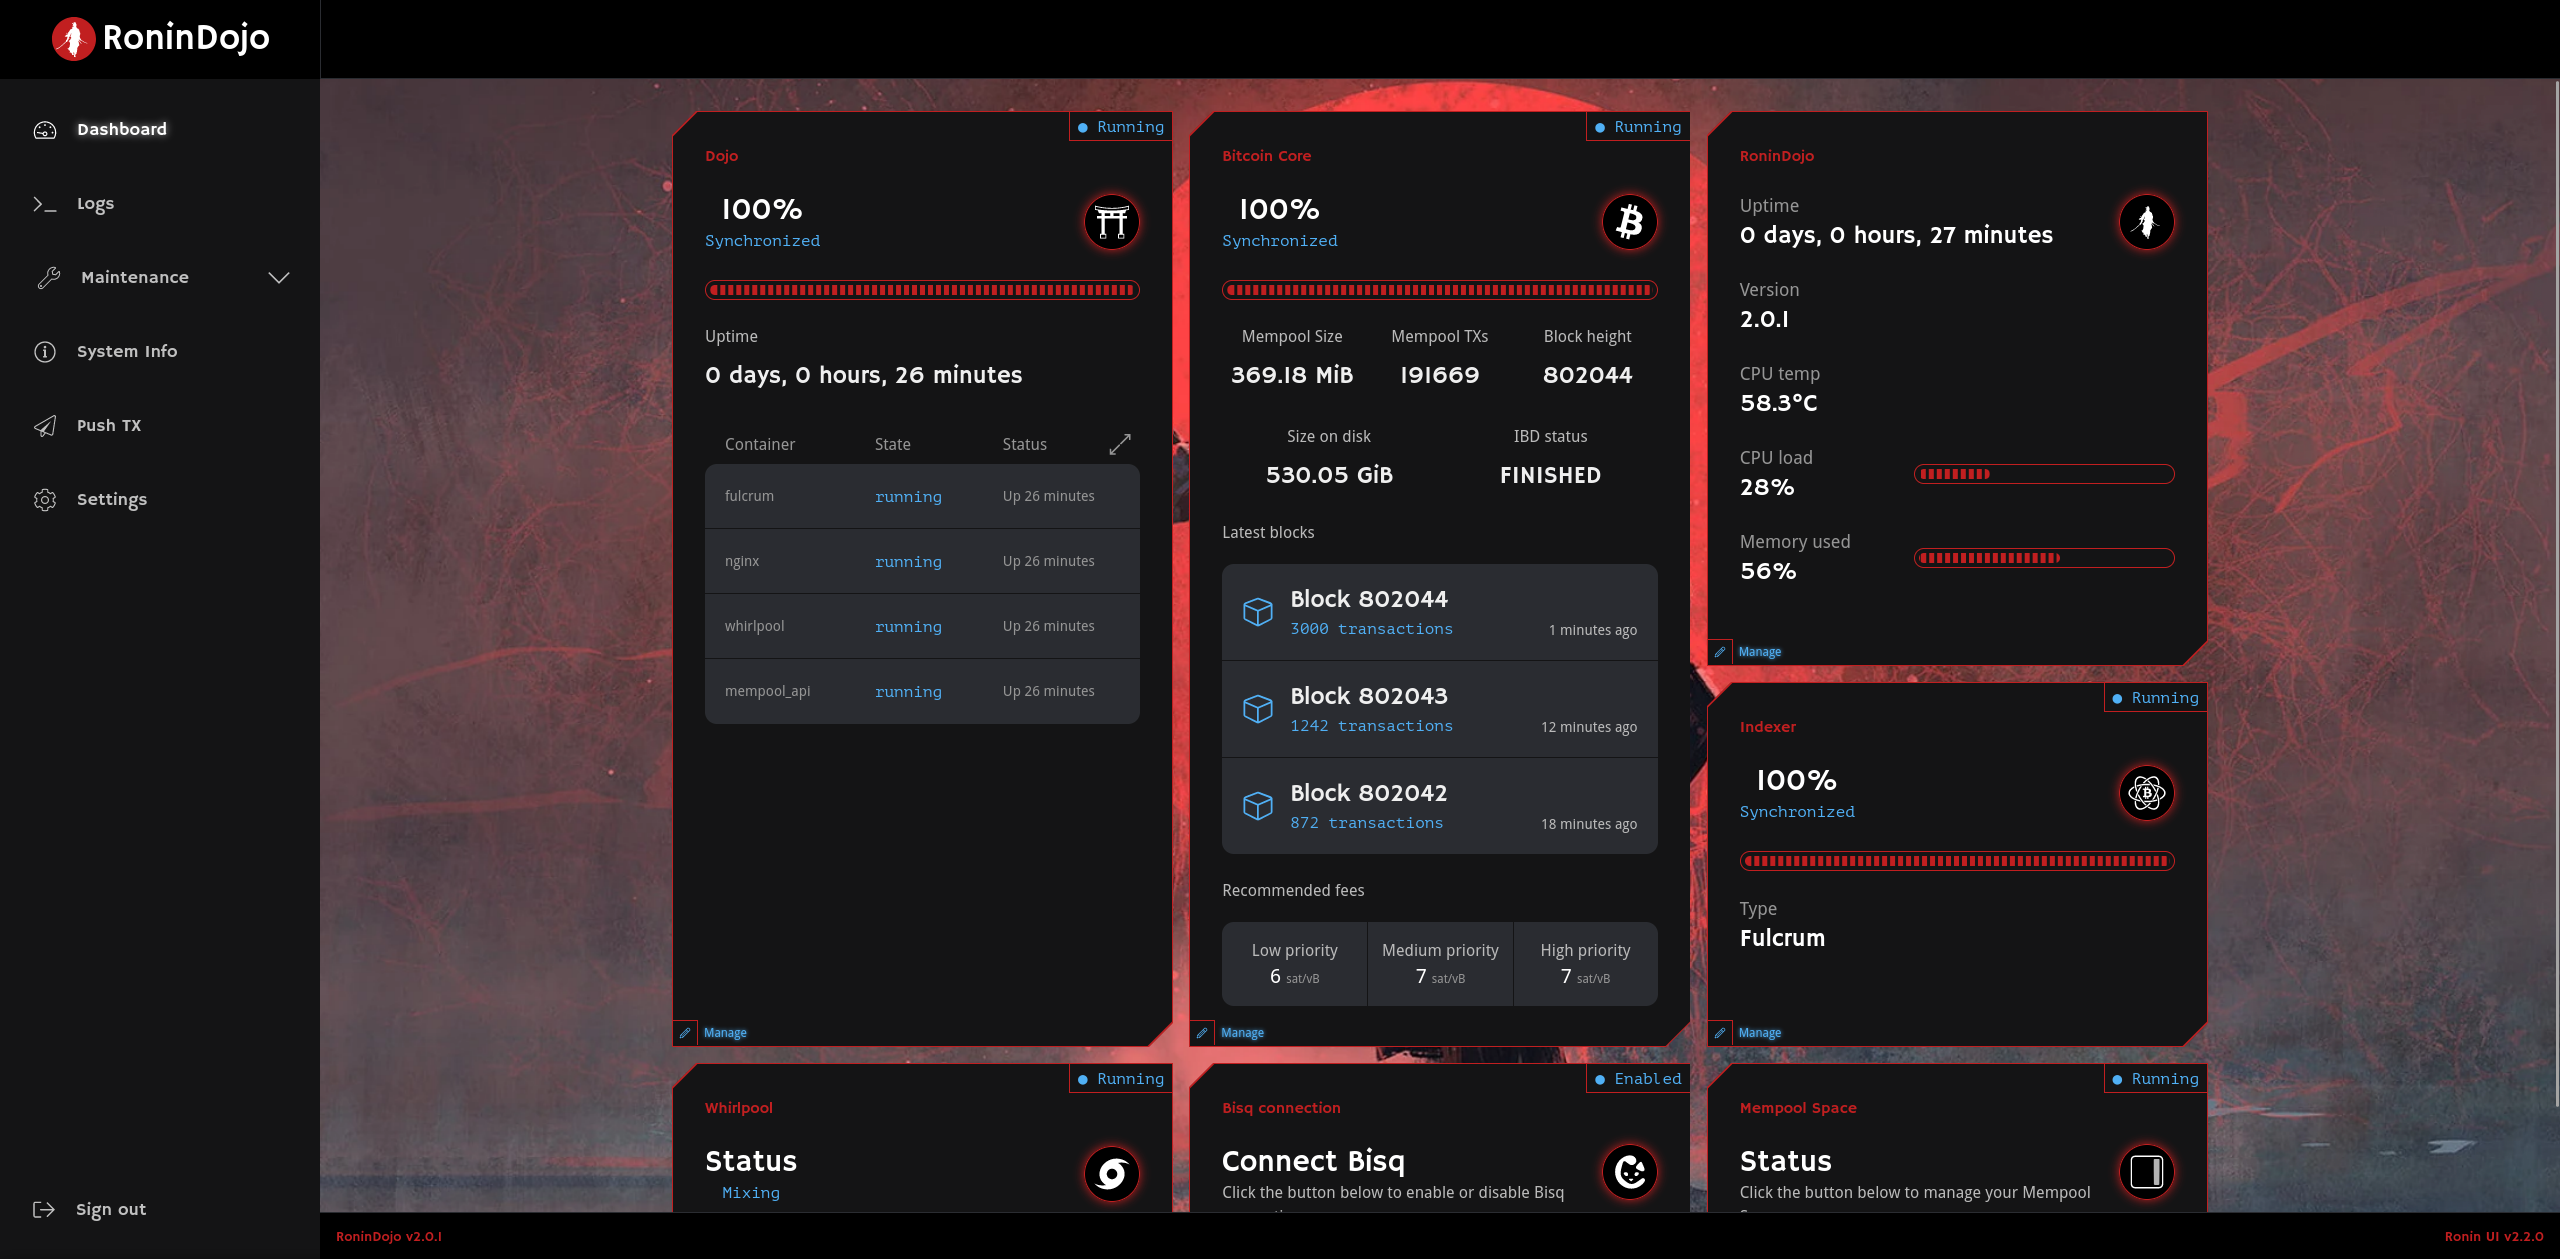
TIP: Your node will not be functional until the initial blockchain download and indexer compaction has finished.
NOTICE: Do not force restart your Tanto or cut power as this can cause issues!
NOTICE: Please follow the MicroSD Card Troubleshooting Section if you need to reflash your Tanto!
¶ SSH Access
After you create a password you can SSH into the device. See the RoninCLI Section of this wiki for more command line interface information.
Example:
¶ Additional Info
Get familiar with the RoninUI section while you wait for downloads to complete.
Check out Troubleshooting & Extras if you want more information.
Join the RoninDojo Chatroom and engage the community.